Bill of quantities
Excel with the sums set up, and a PDF, plus how NRM 2 lays a bill out
Last checked 4 October 2026
A free schedule of condition template in Word and PDF, set out room by room with a photo reference for every entry. No email needed. Below it: when you need one, what to record, how to take the photos, who signs, and how AI can turn your site notes into the write-up.
A schedule of condition is a dated record of a property's condition, usually written room by room and backed by photographs. It's made before something changes, such as a new lease or building work next door, so that later damage or disrepair can be judged against an agreed starting point.
The three common times are at the start of a lease, before party wall work, and before building work next to someone else's property. In each case it records the condition before anything changes, so if there's a dispute later about damage or repairs, both sides can see what was there to begin with.
| When | What it does | What the guidance says |
|---|---|---|
| A new lease | Limits the tenant's repairs to the condition at the start, where the lease says so | RICS's leasing code says a schedule will normally be needed, and the parties should agree who pays for it |
| Party wall work | Records the neighbour's property before work starts, so any damage can be traced to the works | Not required by the Act, but GOV.UK's guidance calls recording one "most prudent" |
| Other work next to a building | Gives both sides a record before work starts | Outside the Act, the neighbour keeps their common-law rights, but has to be able to prove damage or loss |
Not under the Party Wall etc. Act 1996, though GOV.UK's guidance calls recording one "most prudent" and says party wall surveyors would advise it. Without one, damage may be hard to pin on the works. For a lease, RICS's leasing code says one will normally be needed where the tenant's repairs are limited to the starting condition.
Start with the property, the date, who inspected it and why. Then go room by room, describing the ceiling, walls, floor, windows, doors, fittings and services, and note each defect precisely, with its size and position. Give every entry a photo reference, and finish with a photo log and the signatures.
Property details: the address, the date, who inspected and why.
Scope and limits: what you could and couldn't inspect.
Room by room: ceiling, walls, floor, windows, doors, fittings and services.
Each defect: what it is, where it is and how big.
External areas: only those the lease or the work could affect.
A photo log: every photo, referenced and dated.
Agreement: signatures from both sides.
This is the same template as the Word and PDF files. It has a heading block, the scope of the inspection, a table for each room with a photo reference column, a photo log and an agreement section.
Schedule of condition
Both sides check and agree this record before the lease is granted or the work starts.
Scope and limits of the inspection
Say which parts you inspected and which you couldn't, such as rooms you couldn't enter or furniture you couldn't move, and how you inspected them.
How to read this schedule
Each room is recorded from the ceiling down: ceiling, walls, floor, then windows, doors, joinery and fittings, and services. Left and right are taken facing {the front of the building}. Every entry has a photo reference that matches the photo log.
Room 1: {name and location}
| Ref | Element | Condition | Photo ref |
|---|---|---|---|
| 1.1 | Ceiling | ||
| 1.2 | Walls | ||
| 1.3 | Floor | ||
| 1.4 | Windows | ||
| 1.5 | Doors | ||
| 1.6 | Joinery and fittings | ||
| 1.7 | Services |
The Word file repeats this table for 6 rooms, then adds external areas for anything outside that could be affected.
Photo log
One line for every photo. Keep the originals, with their dates, alongside this schedule.
| Photo ref | Room or area | What it shows | Date and time |
|---|---|---|---|
The Word file has room for 24 photos.
Agreement
Sign once both sides have checked the schedule and the photos and agree they're an accurate record.
| Name | Signature | Date | |
|---|---|---|---|
| Prepared by | |||
| Agreed for the landlord or adjoining owner | |||
| Agreed for the tenant or building owner |
Free to use and change. Both sides check it before it's agreed.
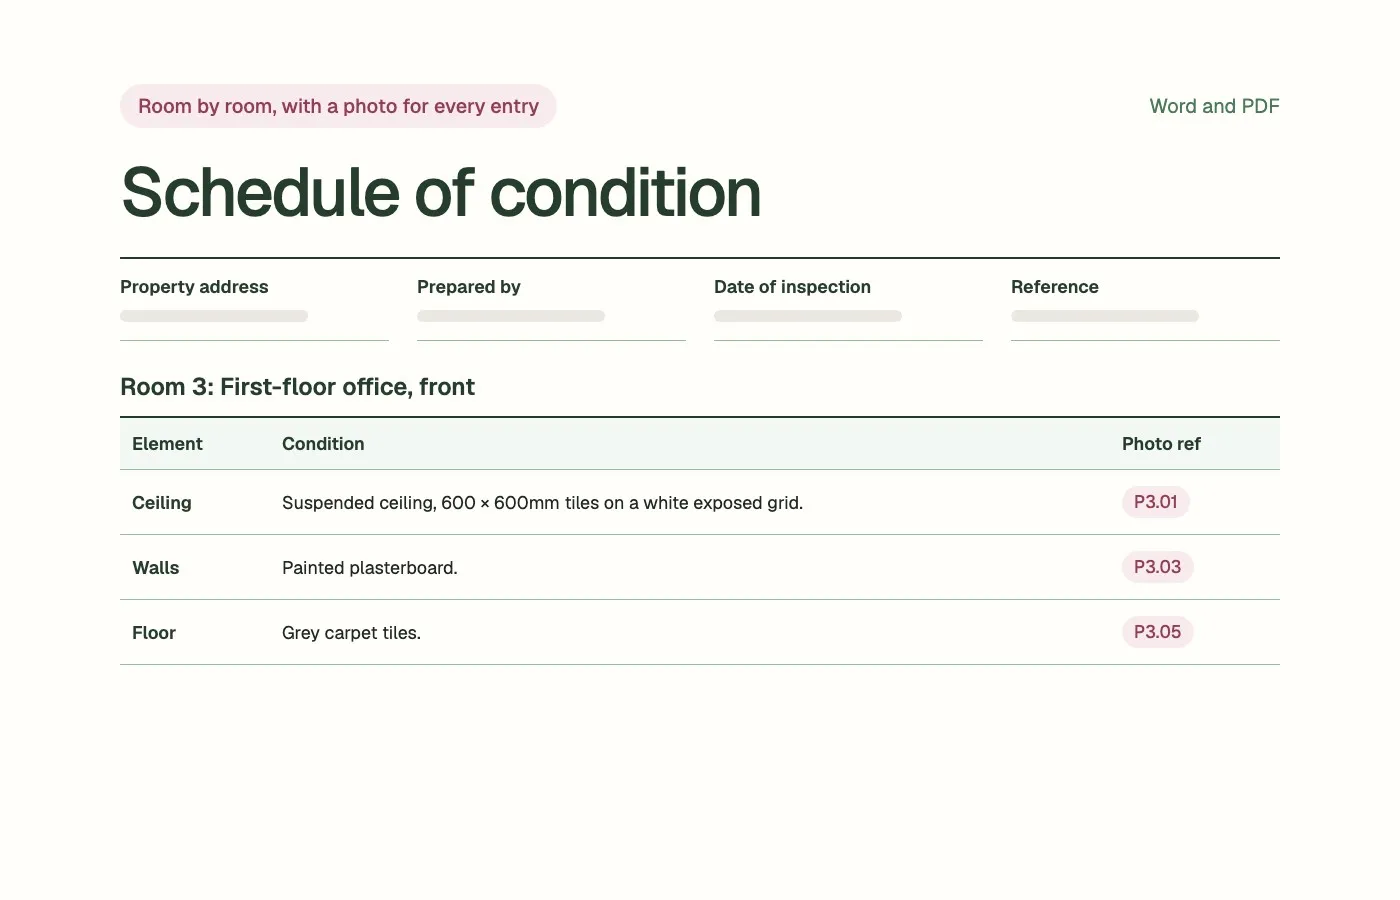
Here's one room written up, to show the level of detail to aim for. Each entry says what the element is, what's wrong with it, where and how big, and which photos show it. Write down what you see on the day rather than guessing at causes.
Room 3: First-floor office, front
Example only. Write what you see.
Take enough photos to cover every part of the property, keep them dated, and give each one a reference that matches an entry in the schedule. RICS's leasing code says tenants who do it themselves should take plenty of photos, have them dated and agreed by the landlord, and keep a set with the lease.
Start each room with a wide shot from the doorway.
Then photograph the ceiling, each wall and the floor in turn.
Take a close-up of every defect, with something in shot to show its size.
Give each photo a reference and note it against the entry it supports.
Keep the originals, with their dates, alongside the lease or the party wall award.
The person who prepared it signs and dates it, and the other side checks it and agrees it as accurate. RICS's leasing code recommends preparing it early enough before the lease is granted for both parties to check and agree it. For party wall work, the record is often part of the award the surveyors make.
AI can turn your photos and voice notes into the written entries, in a consistent order and wording, and match each entry to its photo reference, so you're editing a draft instead of typing up from scratch. It can't see what the camera missed, so the surveyor checks every entry against the photos and the property before it's issued.
Give it
Always check
Photos of a client's property can be confidential. RICS's standard on responsible use of AI says regulated firms must not upload private or confidential data to an AI system unless the people affected have given written consent in advance and the firm is satisfied the risk is acceptable. Agree what can go in before you start: the AI policy template covers it in two pages, and the RICS AI standard guide sets out the rest.
Excel with the sums set up, and a PDF, plus how NRM 2 lays a bill out
What it covers, how it differs from market value and how often to review it
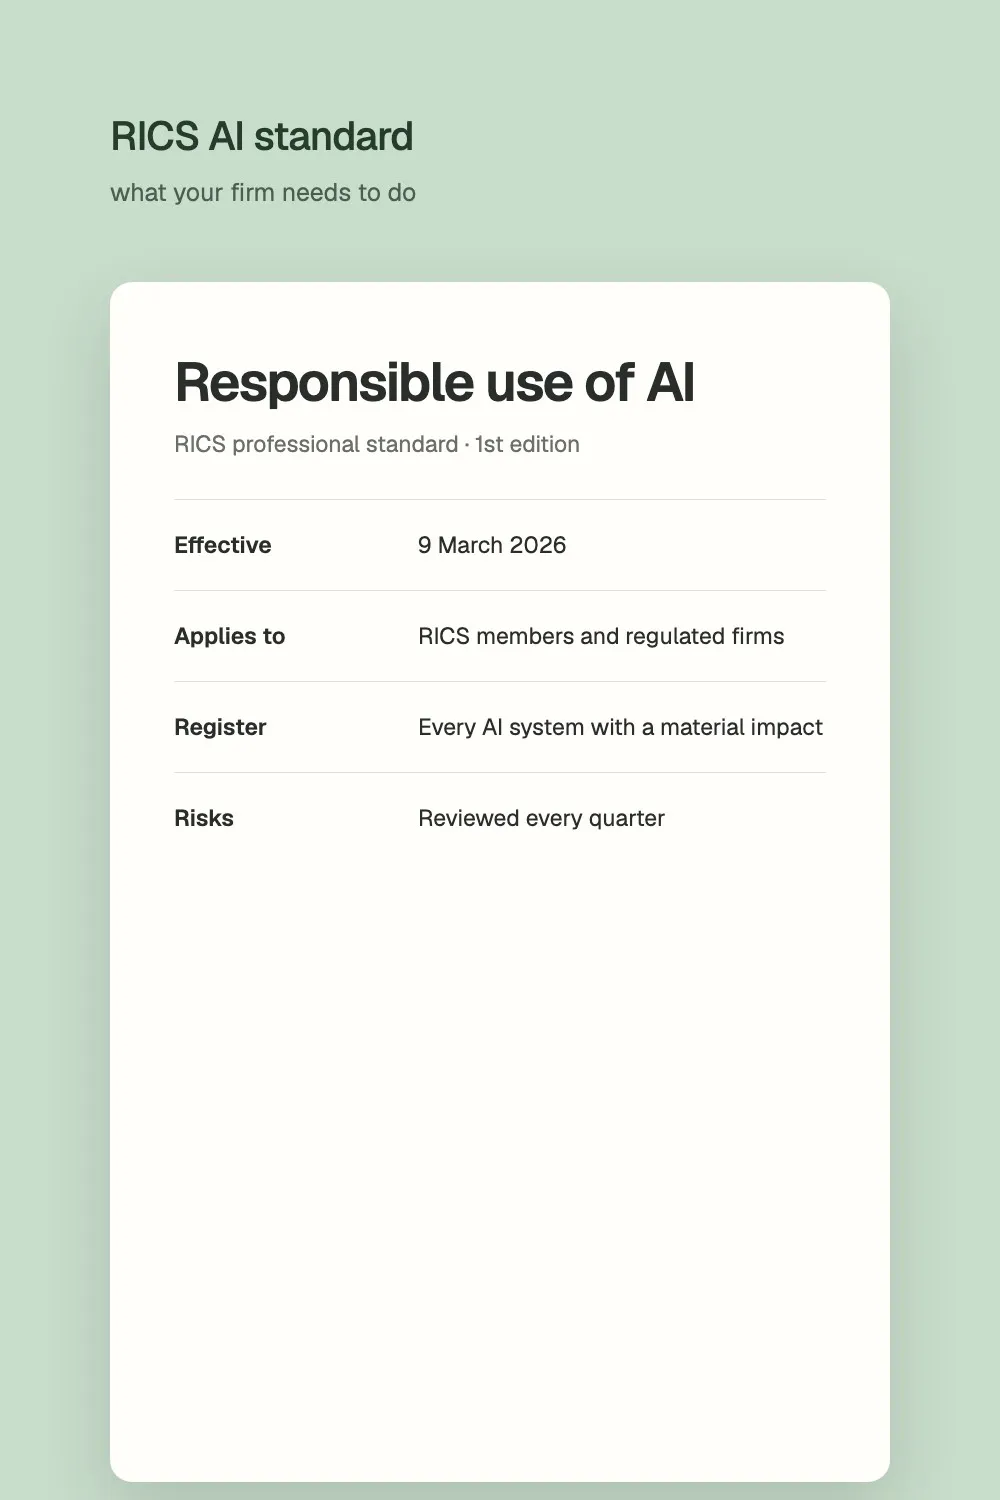
What your firm needs in place, with a free AI register and risk register
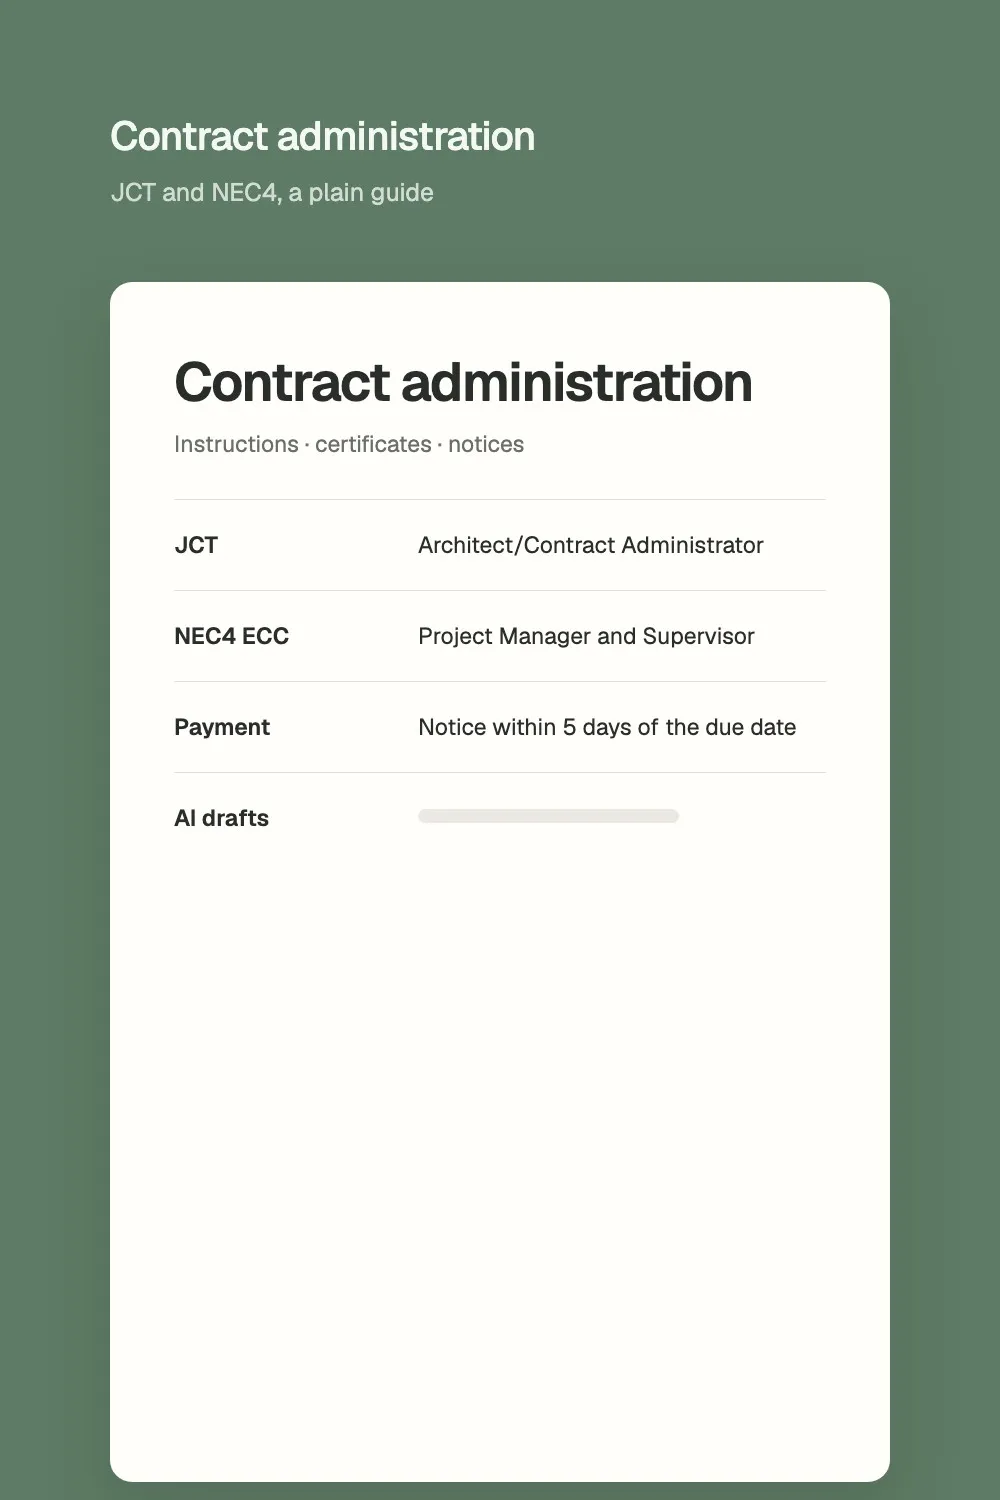
The role under JCT and NEC4, the paperwork, and where AI helps
The check puts schedules of condition and survey write-ups next to the rest of your office work and shows which job AI should take on first. Free. Any work after it is agreed separately.